
For learning about new recipes, like us on Facebook or follow us on Pinterest or on Instagram.
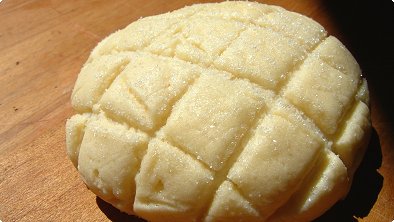
melon bun
- Makes: 5
- Calories: 237 kcal
- Total Time: 2 h 30 m
- Japanese: Melon-pan
- metric
- u.s.

ingredients:
- 150 g bread flour
- 1/2 teaspoon dry yeast
- 5 g softened unsalted butter (room temperature)
- 5 g sugar
- 1/2 teaspoon salt
- 100 ml lukewarm water (30°C)
biscuit dough:
- 60 g cake flour
- 30 g softened unsalted butter (room temperature)
- 20 g sugar
- 1 tablespoon beaten egg
- suitable amount granulated sugar
This recipe consists of an inner bread dough surrounded by an outer biscuit dough shell. If you make the bread dough using a home Bread Maker, please start from Step 5 – instructions for the biscuit dough shell.
Instructions for inner bread dough (Steps 1-4)
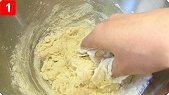
step 1:
Put the bread flour in a bowl and place the dry yeast and sugar next to it on one side. Be sure to keep them separated. On the opposite side, place the butter and salt in the same manner. Pour the lukewarm water over only the dry yeast. Mix part of the moistened dry yeast with all of the sugar. Then mix all the ingredients together until the flour is no longer visible. Form into one large ball.
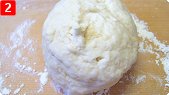
step 2:
Spread some bread flour over a flat surface and put the large ball of dough on it.
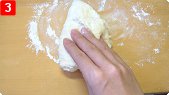
step 3:
Push it to the other side. Fold it in half and slap it onto the flat surface. Repeat this for about 15 minutes (about 200 times).
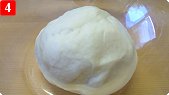
step 4:
Put it in a bowl and cover with some plastic wrap. Place in a warm place for 40 minutes.
Instructions for outer biscuit dough shell (Steps 5 and 6)
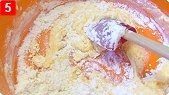
step 5:
Mix the butter, sugar and beaten egg in a bowl. Add half of the flour and mix with a spatula. Add the remaining flour into the mixture and mix until the flour is no longer visible.
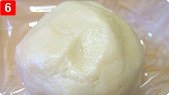
step 6:
Spread plastic wrap out on a flat surface. With your hands, remove the biscuit dough mixture from the bowl and place in the middle of the plastic wrap. Wrap the plastic wrap arround the dough and place in the refrigerator.
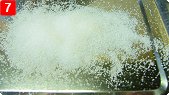
step 7:
In advance of Steps 12 and 13, put the granulated sugar on a plate. Spread wax paper on a baking pan.
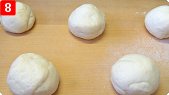
step 8:
Form the innner bread dough into 5 balls and cover with some plastic wrap. Place in a warm place for 20 minutes.
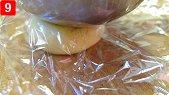
step 9:
Spread five 15 cm. plastic wrap squares out on a flat surface. Form the outer biscuit dough into 5 balls and place 1 ball in the middle of each plastic wrap square. Put another plastic wrap on the top of each ball. With the bottom of a ladle, flatten out each ball into a round shape of 10 cm wide.
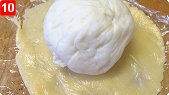
step 10:
Remove the plastic wrap from the top of each flattened biscuit dough and place a bread dough ball in the middle of each one. Place your hand over the top and invert the bread dough, biscuit dough and the plastic wrap into your hand. Remove the remaining plastic wrap. Wrap the biscuit dough around each ball to form the melon bun.
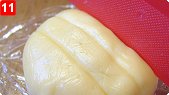
step 11:
Make crisscross lines with a knife.
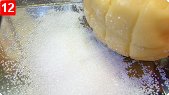
step 12:
Place a bun in your hand and turn it over onto the plate with granulated sugar in order to coat the top. Do this for all of the buns.
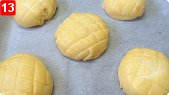
step 13:
After the coating has been applied to all the buns, put them on the wax paper. Be sure to keep them separated. Cover with some plastic wrap and set the cookie sheet aside for 30 minutes. Preheat the oven to 180 °C. Bake for 15 minutes.
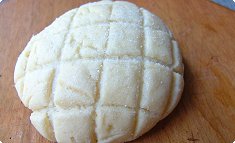
comment:
Melon bun was first made in the Meiji Period, which began in the 19th century. The crispy outer biscuit dough suits the fluffy inner bread dough and is very delicious.


Int'l. recipes with a Japanese twist


Japanese Food Lovers' Comments